
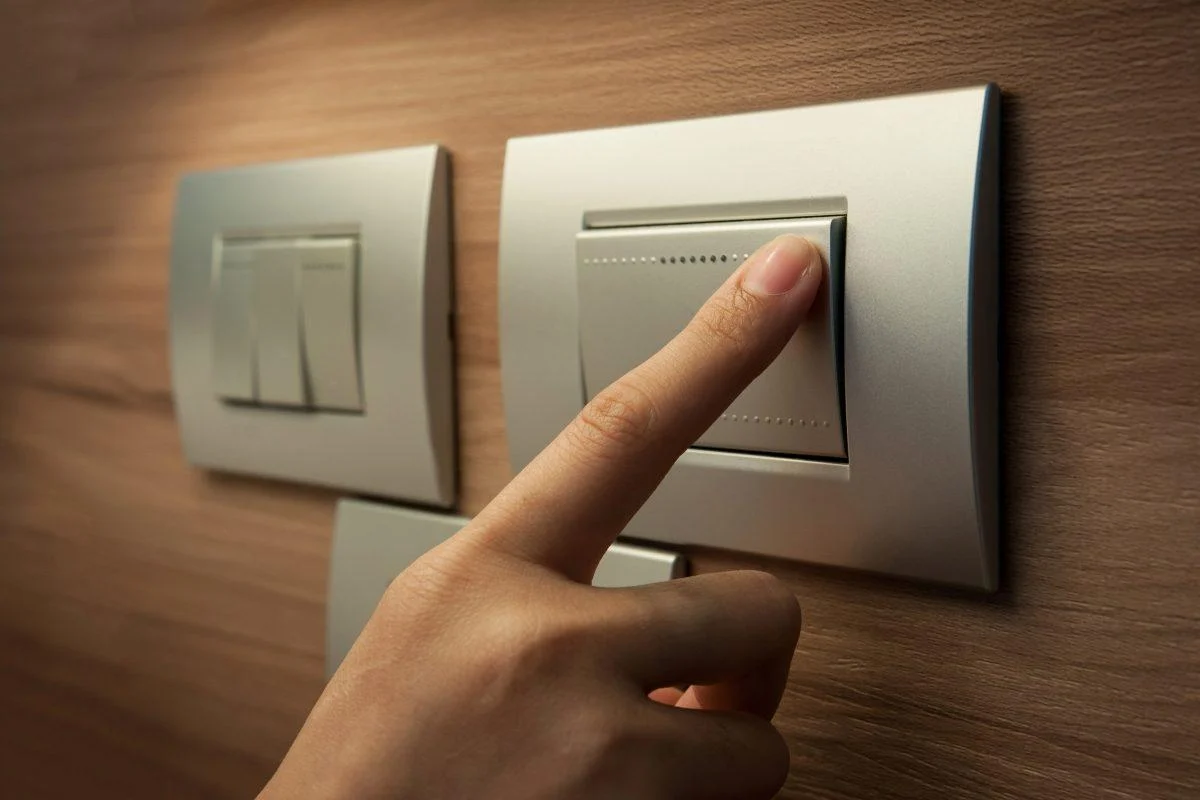
One of the things we use most in our homes and often forget to clean are light switches. Over time, they accumulate dirt and lose their original shine.
Luckily, there is a home remedy that promises to make them look like new using only two ingredients that you probably already have at home: vinegar and baking soda.
Why use these ingredients on light switches
To restore your light switches to their former glory, all you need is white vinegar and baking soda. These two ingredients are known for their cleaning and disinfecting properties. Together, they form a powerful combination for removing accumulated dirt.
When mixed together, baking soda and vinegar cause a carbon dioxide reaction in the form of bubbles, which lift and loosen the most stubborn stains.
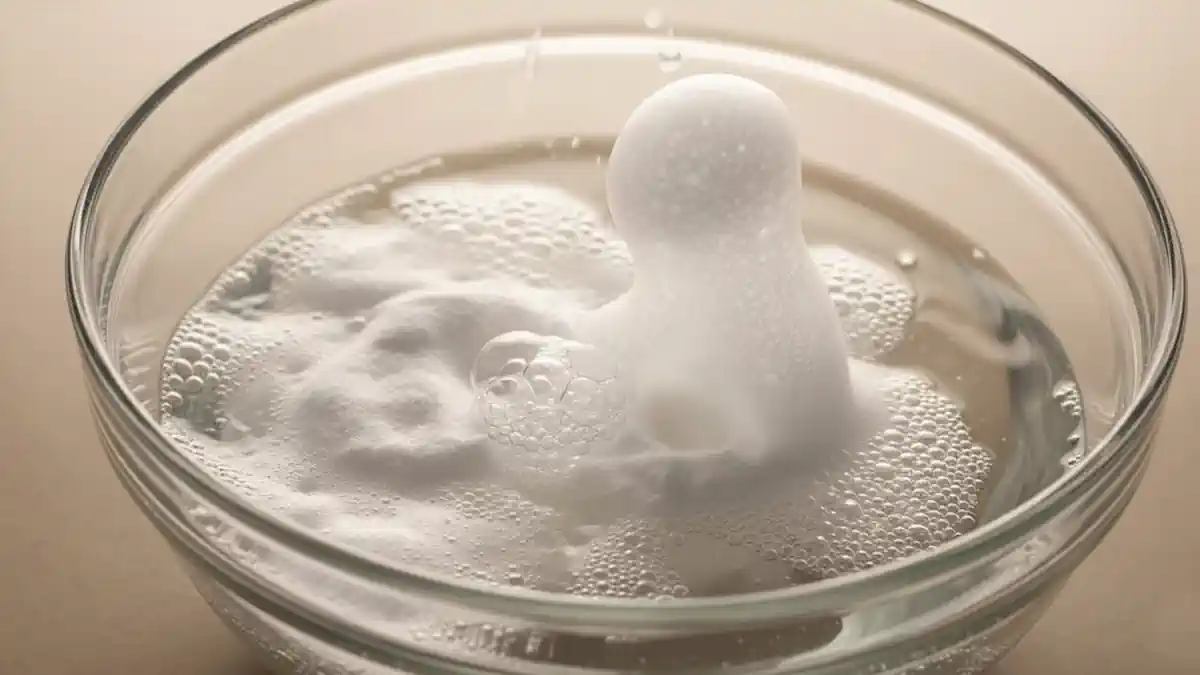
The mixture of vinegar and baking soda is effective for this type of stain. (Illustrative photo generated with AI)
Step by step for effective cleaning
- Prepare the mixture: in a small container, mix one part white vinegar with one part baking soda. The effervescent reaction that occurs is normal and will help to remove the dirt.
- Apply to the light switches: using a soft cloth or sponge, apply the mixture to the surface of the light switches. Make sure you cover all areas well, especially the corners and edges where dirt tends to accumulate.
- Leave to work: allow the mixture to work for a few minutes. This will allow the ingredients to penetrate and loosen the stuck-on dirt.
- Clean and dry: using another clean, damp cloth, remove the mixture from the light switches. Make sure you remove all residue to prevent marks from remaining. Finally, dry the surface thoroughly with a dry cloth.
Another alternative that works to whiten yellowed plastics
Another alternative that works not only for light switches, but for all plastics in the home is 40-volume cream hydrogen peroxide, which is also used to bleach hair.
Step by step guide to whitening your plastics
- Get some 40-volume cream hydrogen peroxide.
- Apply the product with a brush to the yellowed surface.
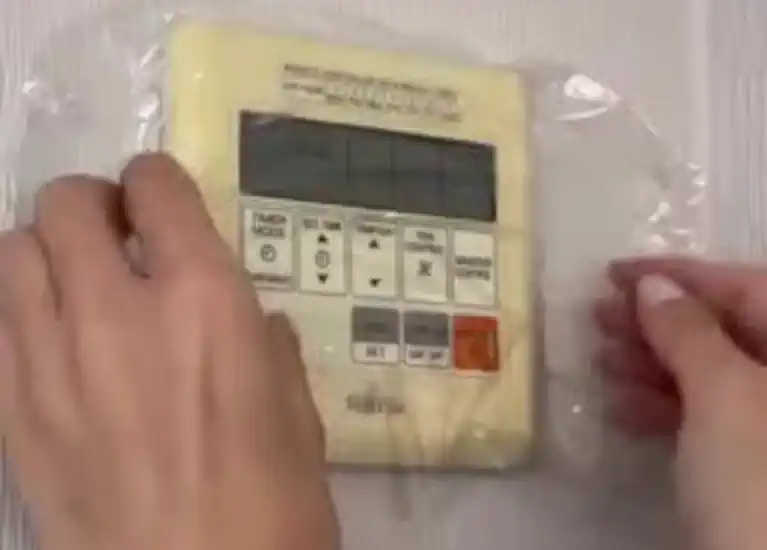
- Cover the entire treated area with cling film (clear plastic wrap).
- Leave to work for at least 24 hours in a place with light (ideally sunlight, but not essential).
- Remove the cling film and wipe with a damp cloth to remove any remaining product.
How often should you do this?
If the plastic is very yellow, you can repeat this process up to three times a week until it regains its original colour. The change is gradual but very effective.
Each time you do this, it is important to wear gloves to protect your hands, ventilate the area where the procedure is being carried out and avoid using this ingredient on sensitive plastics or those with shiny finishes that could be damaged.